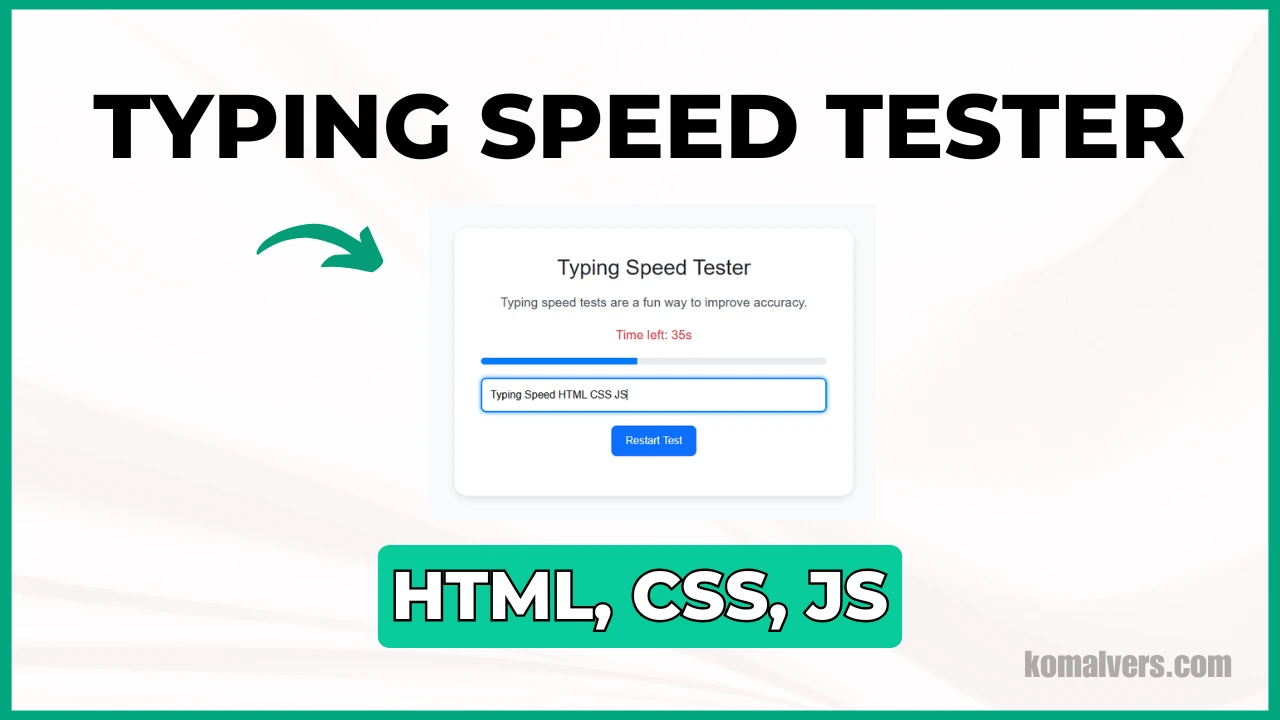
In this blog, I’m going to show you how to build a Typing Tester Web App using HTML, CSS, and JavaScript. This web app will allow users to check their typing speed and accuracy in real-time. Whether you’re building a productivity tool or just looking to enhance your web development skills, this app is a great project to work on!
You can follow along with the detailed tutorial in the video below, where I walk you through every step of building this typing tester web app. Click here to watch the video tutorial.
Why Typing Speed Matters
Typing speed is an essential skill for everyone, from professionals to students. Whether you’re typing emails, reports, or code, improving your typing speed can save time and increase productivity. This web app allows users to test their typing speed, measure their accuracy, and challenge themselves to improve.
What You’ll Need
- Basic knowledge of HTML, CSS, and JavaScript
- A text editor (VS Code, Sublime Text, etc.)
- A browser to view your typing tester web app
Let’s dive right into creating this typing tester app!
Step 1: HTML Structure
Let’s start by creating the HTML structure of the app. This will include an input box where users can type, a timer, and a display area for showing the text to type.
<!DOCTYPE html>
<html lang="en">
<head>
    <meta charset="UTF-8">
    <meta name="viewport" content="width=device-width, initial-scale=1.0">
    <title>Typing Speed Tester</title>
    <link href="https://cdn.jsdelivr.net/npm/bootstrap@5.3.0-alpha1/dist/css/bootstrap.min.css" rel="stylesheet">
</head>
<body>
    <div class="container">
        <h1>Typing Speed Tester</h1>
        <p id="sentence">Loading sentence...</p>

        <div id="timer">Time left: 55s</div>

        <div class="progress">
            <div class="progress-bar" role="progressbar" style="width: 0%;" id="progressBar"></div>
        </div>

        <div class="input-field">
            <input type="text" id="inputField" placeholder="Start typing here..." disabled>
        </div>

        <button class="btn btn-primary" id="restartButton">Restart Test</button>
        <p id="result"></p>
    </div>
</body>
</html>
Step 2: CSS Styling
Now let’s add some styles to make our typing tester app visually appealing. The CSS will set the layout, color scheme, and some animations to enhance the user experience.
 body {
            font-family: 'Poppins', sans-serif;
            background-color: #f8f9fa;
            margin: 0;
            padding: 0;
            height: 100vh;
            display: flex;
            align-items: center;
            justify-content: center;
        }

        .container {
            text-align: center;
            background: #ffffff;
            border-radius: 20px;
            padding: 40px;
            box-shadow: 0px 4px 10px rgba(0, 0, 0, 0.1);
            max-width: 600px;
            width: 100%;
        }

        h1 {
            font-size: 2rem;
            margin-bottom: 20px;
        }

        #sentence {
            font-size: 1.2rem;
            margin-bottom: 20px;
            color: #495057;
        }

        .input-field {
            margin-bottom: 20px;
            position: relative;
        }

        .input-field input {
            width: 100%;
            padding: 12px;
            font-size: 1rem;
            border: 2px solid #ced4da;
            border-radius: 8px;
            outline: none;
            transition: box-shadow 0.3s ease;
        }

        .input-field input:focus {
            box-shadow: 0 0 8px #007bff;
            border-color: #007bff;
        }

        #result {
            font-size: 1.2rem;
            margin-top: 20px;
            color: #28a745;
        }

        .btn {
            padding: 10px 20px;
            font-size: 1rem;
            border-radius: 8px;
        }

        .progress {
            height: 10px;
            margin-bottom: 20px;
            border-radius: 8px;
            overflow: hidden;
            background: #e9ecef;
        }

        .progress-bar {
            background: #007bff;
        }

        #timer {
            font-size: 1.2rem;
            color: #dc3545;
            margin-bottom: 20px;
        }
Step 3: JavaScript Functionality
Next, let’s write the JavaScript that will handle the timer, word count, and accuracy calculation. We’ll also handle starting the test and comparing the user input to the target text.
const sentences = [
            "The quick brown fox jumps over the lazy dog.",
            "Typing speed tests are a fun way to improve accuracy.",
            "Practice makes perfect when it comes to typing.",
            "A journey of a thousand miles begins with a single step.",
            "Code with passion and design with purpose."
        ];

        const sentenceElement = document.getElementById('sentence');
        const inputField = document.getElementById('inputField');
        const resultElement = document.getElementById('result');
        const restartButton = document.getElementById('restartButton');
        const progressBar = document.getElementById('progressBar');
        const timerElement = document.getElementById('timer');

        let startTime, currentSentence, timerInterval;
        let timeLeft = 55;

        function startTest() {
            currentSentence = sentences[Math.floor(Math.random() * sentences.length)];
            sentenceElement.textContent = currentSentence;
            inputField.value = '';
            inputField.disabled = false;
            inputField.focus();
            progressBar.style.width = '0%';
            resultElement.textContent = '';
            startTime = null;
            timeLeft = 55;
            timerElement.textContent = `Time left: ${timeLeft}s`;
            clearInterval(timerInterval);
            timerInterval = setInterval(updateTimer, 1000);
        }

        function updateTimer() {
            if (timeLeft > 0) {
                timeLeft--;
                timerElement.textContent = `Time left: ${timeLeft}s`;
            } else {
                clearInterval(timerInterval);
                inputField.disabled = true;
                resultElement.textContent = "Time's up! Try again.";
            }
        }

        inputField.addEventListener('input', () => {
            const inputText = inputField.value;
            const progress = (inputText.length / currentSentence.length) * 100;
            progressBar.style.width = `${progress}%`;

            if (inputText === currentSentence) {
                const endTime = new Date().getTime();
                const timeTaken = (endTime - startTime) / 1000; // seconds
                const wordsPerMinute = Math.round((currentSentence.split(' ').length / timeTaken) * 60);
                resultElement.textContent = `Your typing speed is ${wordsPerMinute} WPM!`;
                inputField.disabled = true;
                clearInterval(timerInterval);
            } else if (!startTime) {
                startTime = new Date().getTime();
            }
        });

        restartButton.addEventListener('click', startTest);

        window.onload = startTest;
Step 4: Testing the App
Now, open your HTML file in a browser, and you should be able to start typing in the text area. The timer will start, and your typing speed (WPM) and accuracy will be displayed as you type.
Watch Video Tutorial
If you want a detailed, step-by-step guide on how I built this Typing Tester web app, make sure to check out my video tutorial! Watch the full video here.
Conclusion
Congratulations! You’ve just built your very own Typing Tester Web App using HTML, CSS, and JavaScript. By adding more features, such as difficulty levels or custom text, you can continue to improve this app. I hope you found this tutorial helpful. If you have any questions or suggestions, feel free to leave them in the comments!